If you want to learn how to pour wax seals at home, even if you've never done it before, this guide is the perfect place to start. We clearly show you what materials you need, how to pour correctly, and what little tricks will help you get elegant, clean, and easy-to-make wax seals.
Whether you want to decorate invitations, envelopes, packaging, or handmade projects, the process becomes much simpler when you use the right materials. At ARTIZAAR, you'll find everything you need for pouring wax seals, from wax sticks to brass stamps and useful accessories for beginners.
What materials do you need to pour wax seals?
Before you start, prepare all the necessary materials. The process is simple, but the results are much better when you work organized and use products specifically designed for wax seals.
- Wax sticks for seals – in your chosen colors, depending on the style of your project.
- Low-temperature melting glue gun – ideal for quick and uniform pouring.
- Set with stand and spoon for melting wax – especially recommended for smaller quantities of seals.
- Brass stamp – personalized or with a pre-set design.
Optional, but very useful if you're a beginner
- Silicone mold for pouring wax seals
- Granite slab or silicone pad for easier release of seals
- A bowl of ice for rapid cooling of the stamp
How to pour wax seals at home, step by step
If you haven't done this before, follow these steps in order. They are simple, but they make the difference between a messy result and a well-poured wax seal.
- Insert the wax stick into the low-temperature glue gun, plug the gun into the socket, and wait approximately 4-5 minutes until the wax heats up sufficiently and begins to flow uniformly.
- Keep the brass stamp close to you and, if using the ice bowl, cool it slightly between uses. Before application, gently wipe away any moisture from the stamp so that no water remains on the wax.
- Pour the wax onto a suitable surface, such as a silicone pad or a granite slab. Try to maintain an appropriate amount for the desired seal size.
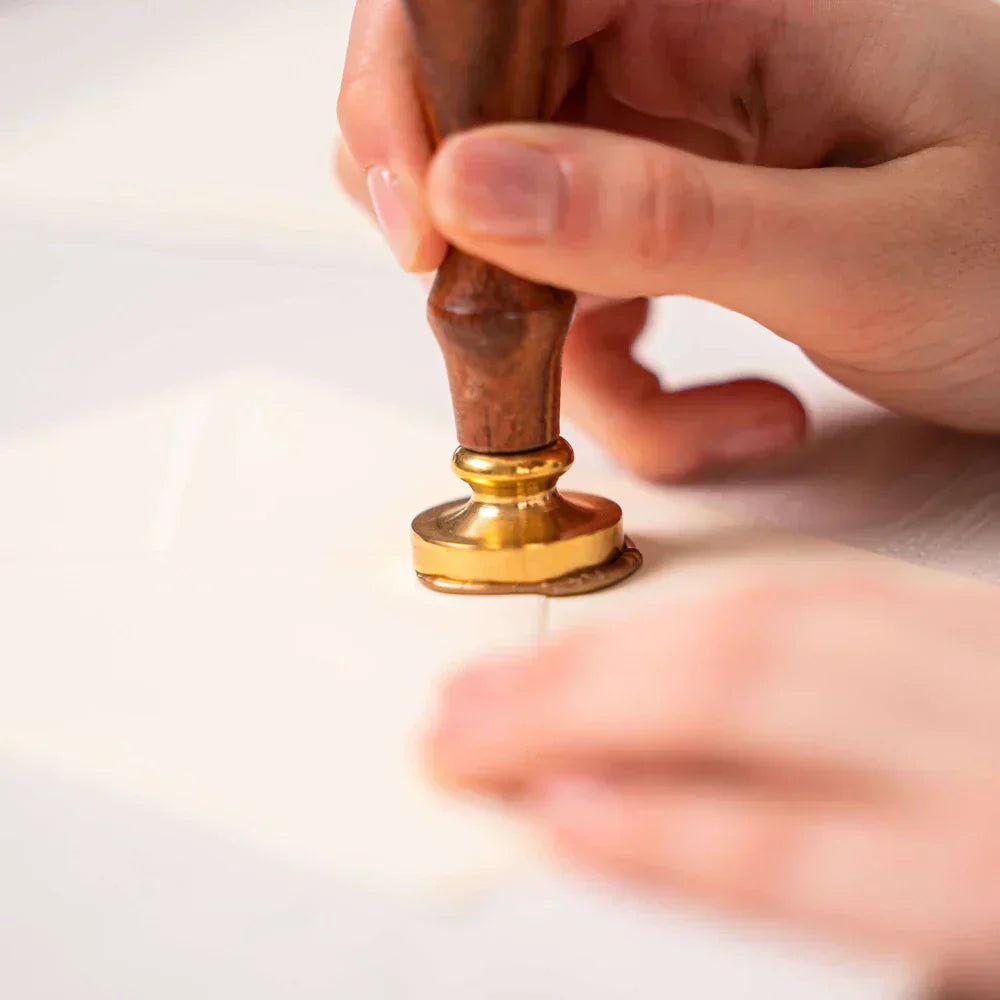
- Place the stamp onto the freshly poured wax and press firmly, without moving it. Leave it in place for approximately 20-30 seconds.
- Carefully lift the stamp. At this point, you should have your first wax seal in front of you.
If the first seal is too small, slightly crooked, or has thicker edges, don't worry. It's absolutely normal. The first attempts are part of the process where you learn to control the amount of wax, the pressing time, and the working pace.
Useful tips for successful wax seals
- If the stamp sticks to the wax, cool it a bit more between uses.
- If the seal comes out too small, pour a little more wax on the next try.
- If the edges are too thick or uneven, adjust the amount of wax and the pouring speed.
- If you want more uniform seals, use a silicone mold.
- Always work on a smooth surface, so the seals come off easier and look cleaner.
Common mistakes when pouring wax seals
- Using too little wax, and the seal doesn't form completely.
- Lifting the stamp too quickly, and the design isn't well-imprinted.
- Not cooling the stamp enough, and the wax sticks to the metal.
- Working on an unsuitable surface, and the seal is difficult to remove.
Frequently asked questions about wax seals
What type of wax is used for seals?
For a beautiful and durable result, use special sealing wax. This is designed to melt correctly, flow uniformly, and hold the stamp impression very well.
Can I make wax seals without a glue gun?
Yes. For small quantities, you can use a set with a stand and a spoon for melting wax. This is a very good option if you want more control over the process.
Is it normal for the first seals not to be perfect?
Yes, it is perfectly normal. The first seals help you better understand how much wax to pour, how long to hold the stamp, and how the materials you're using react.
Start easier with the right materials
If you want to achieve beautiful and clean wax seals right from your first attempts, choose products specifically designed for this process. At ARTIZAAR, you'll find wax sticks, brass stamps, molds, and accessories that make your work simpler and the result more elegant.
Discover sealing materials

Leave a comment
This site is protected by hCaptcha and the hCaptcha Privacy Policy and Terms of Service apply.